Hi, friends! this time I will share with you all how I make soft vintage effects by using Levels adjustment in photoshop. we know that vintage effects are one of the best effects for photographers to apply to their photos. Vintage effects can bring a kind of nostalgic feeling. It looks classic yet elegant at the same time.
If you want to follow this tutorial, you should download the image that we will use below.
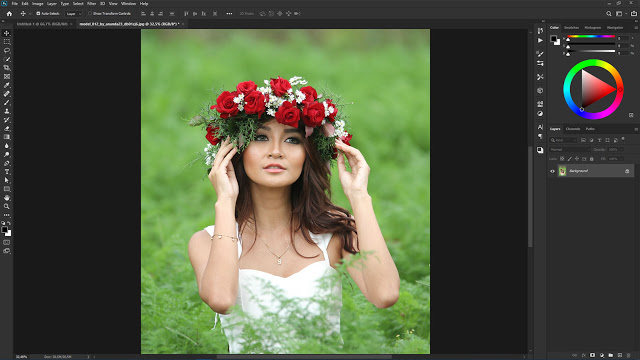
STEP 1: Import Image into Photoshop
Open the image you downloaded earlier in Photoshop, you can go to the menu File>Open and choose your image, or you can also drag the image into Photoshop.
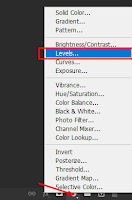
STEP 2: Levels Adjustment
Create a new levels adjustment layer.
then fill 25 in the shadow output levels section. Go to the Red channel and fill 50 in the shadow output levels. then go to the Blue channel then fill 20 in the shadow output levels section.
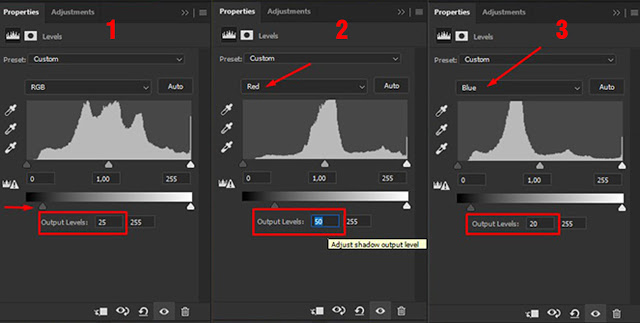
At this point you should be able to see the results. keep in mind that each photo has different number settings, so you should be able to adjust these settings if you use other photos.
STEP 3: Add Light Effects
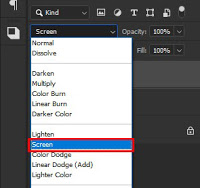
Actually this is an additional effect. but if you add a light effect to the photo it will look better. and this is one of my favorite ways to do it. make a new layer then use the soft brush tool and pick the color #eccd97 and paint it to the image like the following picture.

Don’t forget to change the blending mode option to Screen and set the opacity to 70%.
What do you think? Are you satisfied with the results? actually it would be better if combined using additional adjustments such as color balance, curves, color mixers and others. but i just show you a simple but very feasible way to use.
 |
| image by Ananda23 deviantart |