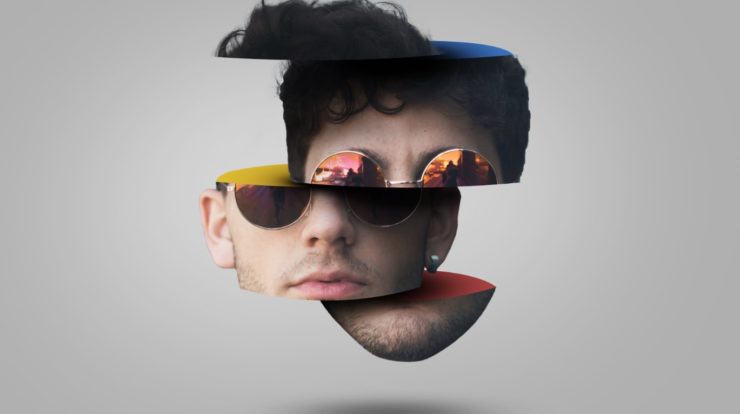
Hi my Friends! welcome back to this blog. at this time I will show you a simple but pretty cool photo editing effect in Photoshop 2020. Which is how to make the head like sliced into several parts. calm down, that’s not as scary as it sounds. because you won’t see blood at all here. This photo effect is quite popular among photo editing lovers, so I tried to make this tutorial and hope you like it.
Alright without saying much let’s start making the Sliced Head effect.
STEP 1: Prepare Your Image
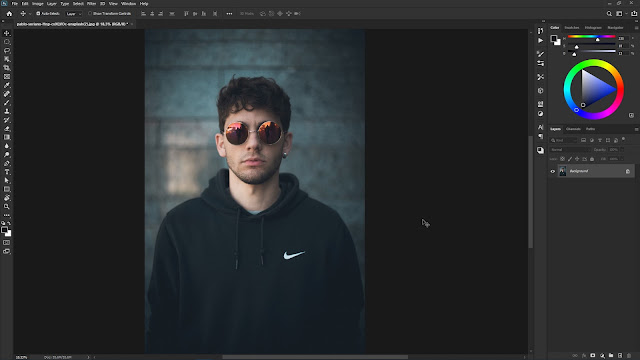
Before I continue this tutorial you should download the image that we will use “Man Portrait“. Click File> Open, then select the image file that you downloaded . You can also drag and drop your image into Photoshop.
STEP 2: Head Selection
Crop the image using the Crop tool then make a selection on the head of the model. If you don’t understand how to remove the background of an image properly, you can read the following tutorial. ” 3 Best Ways to Remove Background in Photoshop 2020 “.
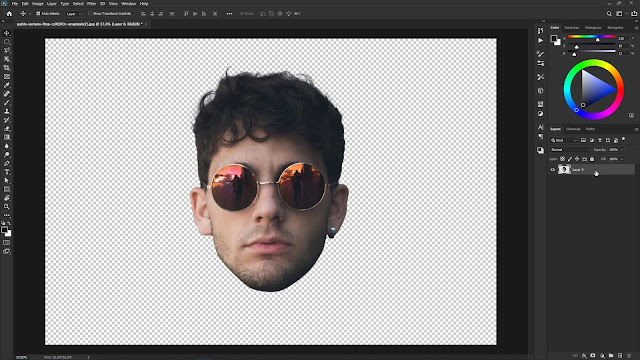
Then create a new Solid Color and choose the gray color (#919191) and drag that layer under the model layer.

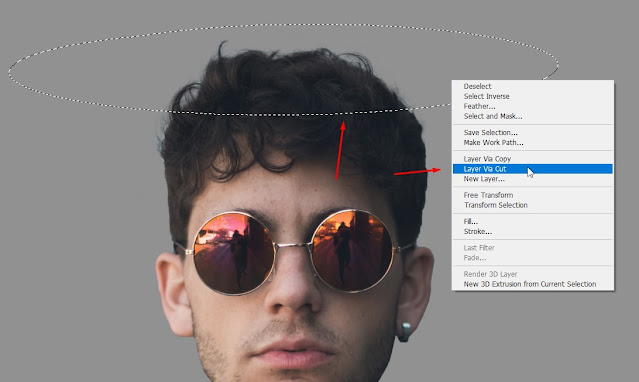
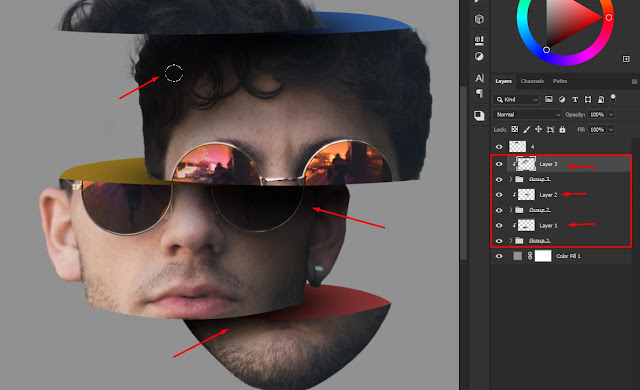
STEP 3: Slice the Head
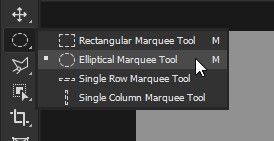
Next is to start separating the parts of the head of the model. here I use Elliptical Marque tool to select that part then press right Click and select Layer Via Cut. select the man layer again dan select the other parts, we will cut it into four parts. see the picture below how to make it.
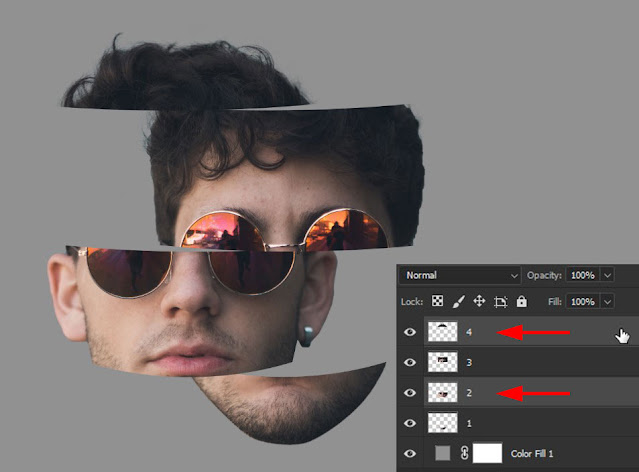
STEP 4: Move the Head Section
Rename the four layers that we separated with numbers 1 to 4, then select layers 2 and 4. To do this you only need to hold the Ctrl key on the keyboard and click your cursor on layers 2 and 4 only. After that, press the V button on the keyboard to activate the Move tool, then you press the left arrow button on the keyboard several times to move the layers to the left.
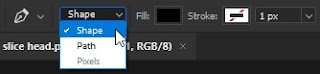
STEP 5: Make Head volume
The next step is to make the volume of the cut off part of the head. here we will use the Pen tool and don’t forget to select the Shape option at the top.
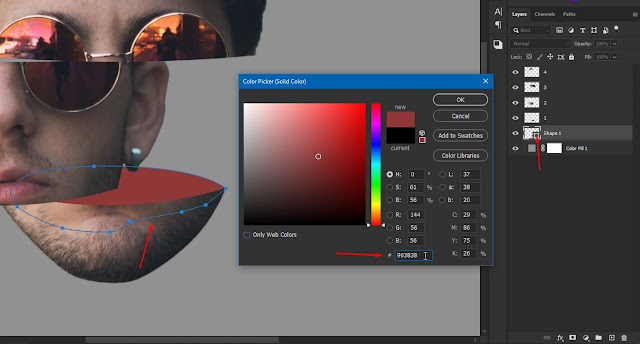
Create a new layer below the layer named 1. and do as the following picture. and after that you can change the color to red. then do the same thing for the other two layers with a different color, then create groups for each layer.
STEP 6: Add Shadow
The next step is to add a shadow. create a new layer each above the groups press right click then select Create Clipping Mask. select the Brush tool and set the color to black then paint it in the parts needed, paint it to each of the head parts.
Next create a new layer and place the new layer at the bottom before the background, then create a shadow using the Brush tool, it will look as if the head is floating. You can see the final result above this article.
Maybe that’s all, how to make Sliced Head photo effect in Photoshop 2020, if you have difficulty in making it do not hesitate to ask via the comments below.